Question
How to create control point?
Answer
1. Click on the tab "Surveys" To the right of the photo, two tabs are available:
- Survey Points
- Constraints
2. Click "Survey points" then on the button Add.
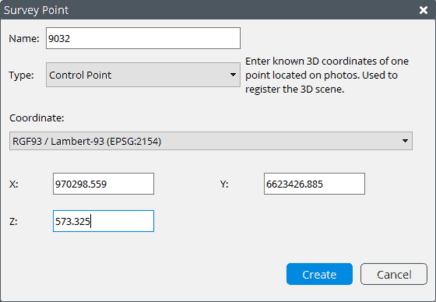
3. Select the type Survey Point: Control Point.
4. Enter a name for this point in the field "Name:"
5. Select the coordinate system used (Coordinator:) if there is one or select Local coordinator system if the points have been identified in a local coordinate system (not georeferenced).
6. Insert the coordinates of the point either rectangular or polar depending on the system of selected coordinates.
7. Click on the button Create.
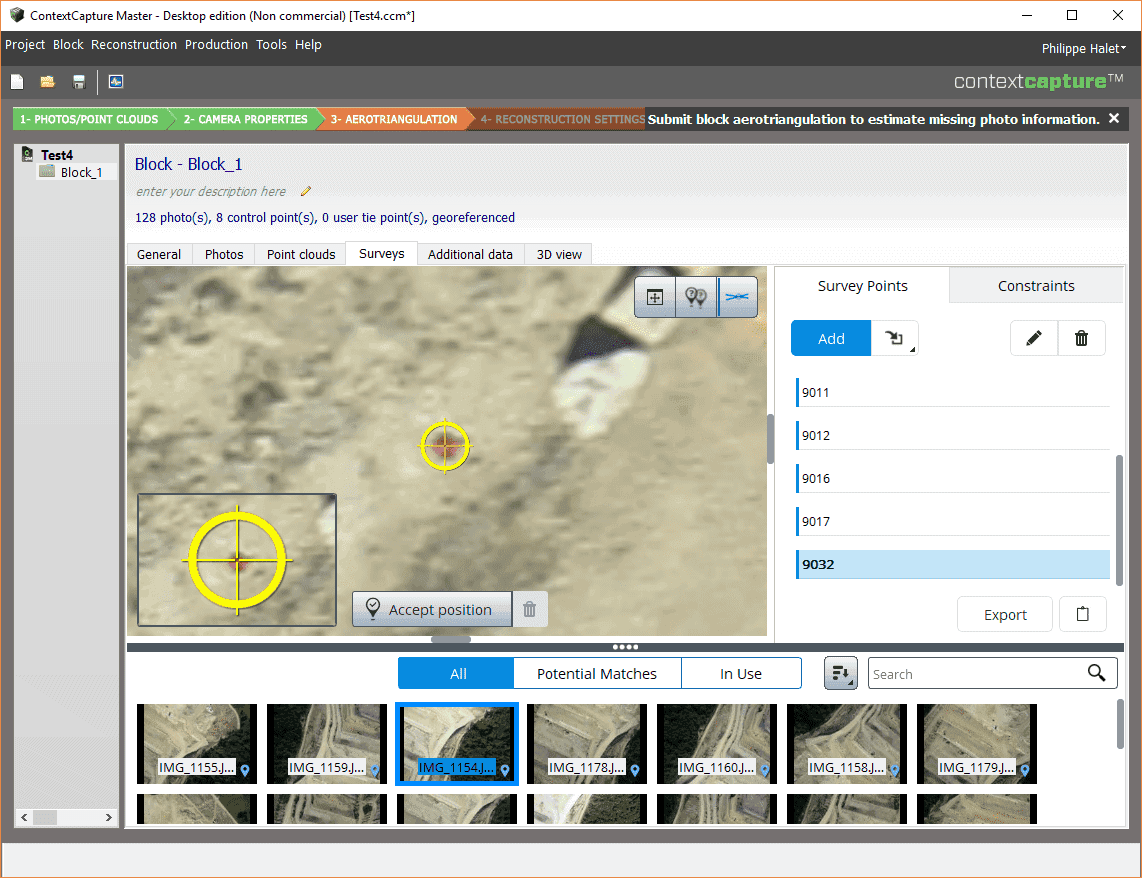
Then find the points on the photos – Select the photo on which you want to add a measure, search the position of the control point on the photo and use the Shift + Click keys to set the measurement position of the image or move the yellow cursor (by selecting with the left mouse button and moving it while holding the button down).
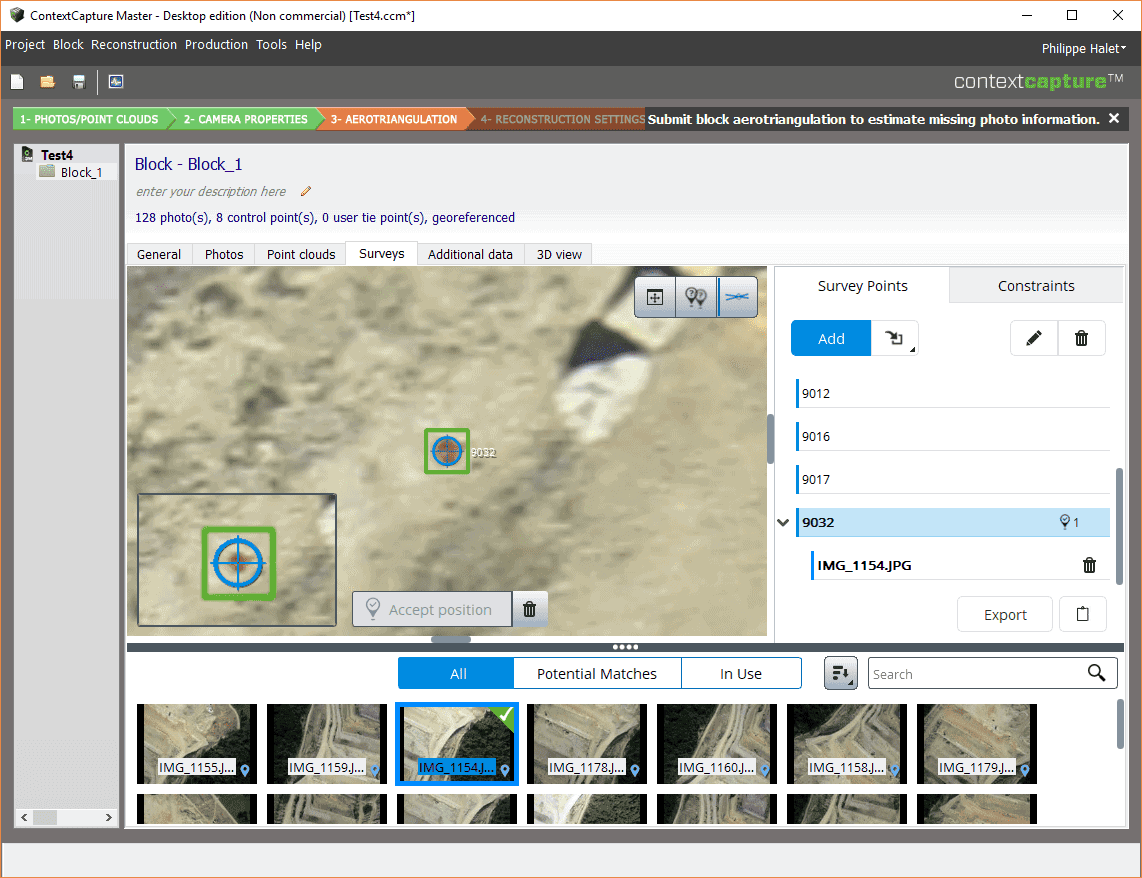
When the point is correctly located, click the button Accept position. When this is done, the button Accept position grey, the cursor appears in green and the name of the photo file appears associated with the point.